LVS-1 Internal AC to DC Variable Voltage Unit
LVS-1 12v Accessory Power Solution
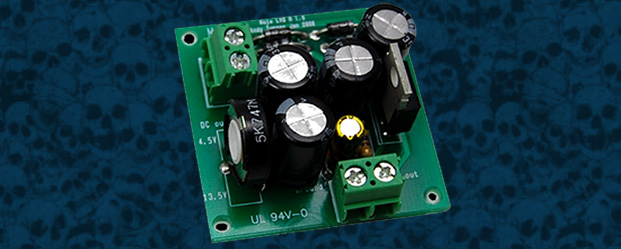
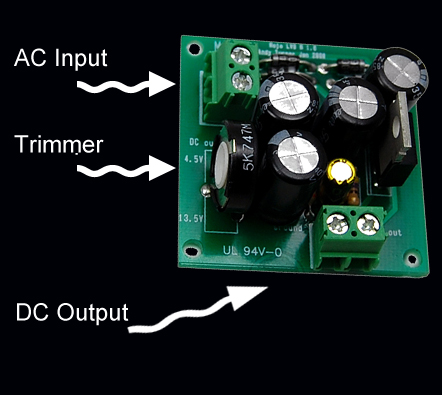
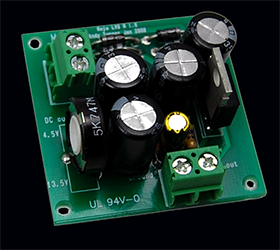 A while back I posted an article on you how you could use a ac to dc 12v wall wart and mount it inside your amp to power LED accent lights without having an external power supply for them. Well it turns out there is a better way to accomplish this and I have the details for you. Floating around the net is a diagram for building a bridge rectifier to tap into the 6.3 volt AC heater supply so you could have usable 12v DC to power LEDs or whtever. But what I found is much easier. MOJO TONE has a little gizmo called the LVS-1. It’s a little 1.75″ x 1.75″ PCB that uses 6.3v AC input and it outputs DC voltage through a trimmer that will adjust from 4.5v to 13.5v. So no matter how you set up your LEDs you can supply the correct voltage.
Installation was super easy. Once you’ve removed the chassis and drained the caps (you know, so you don’t get fried by the high voltages found inside all tube amps) you just solder a wire to each 6.3v connection on the amps PCB (see picture).
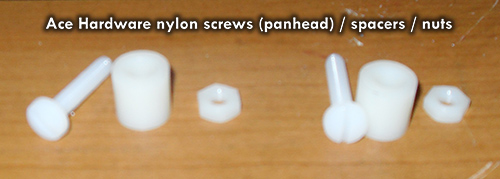
Connect them the the AC input on the LVS-1, then connect wires to the DC output connection and rout them through a micro on/off switch and a 12vDC panel mount jack. Drill a small hole in the back of the chassis for the switch and an appropriate size hole in the top of the chassis for the jack and mount them. To mount the LVS-1 to the chassis I used nylon panhead screws, nylon spacers, and nylon nuts. Clean.
For my LEDs I needed 12v. (here is where you really need to pay attention because you have to power up the amp and adjust the trimmer, so you’re gonna be in there with those lethal voltages. Keep one hand in your pocket). I used a 12v dc plug and left 4″ of wire 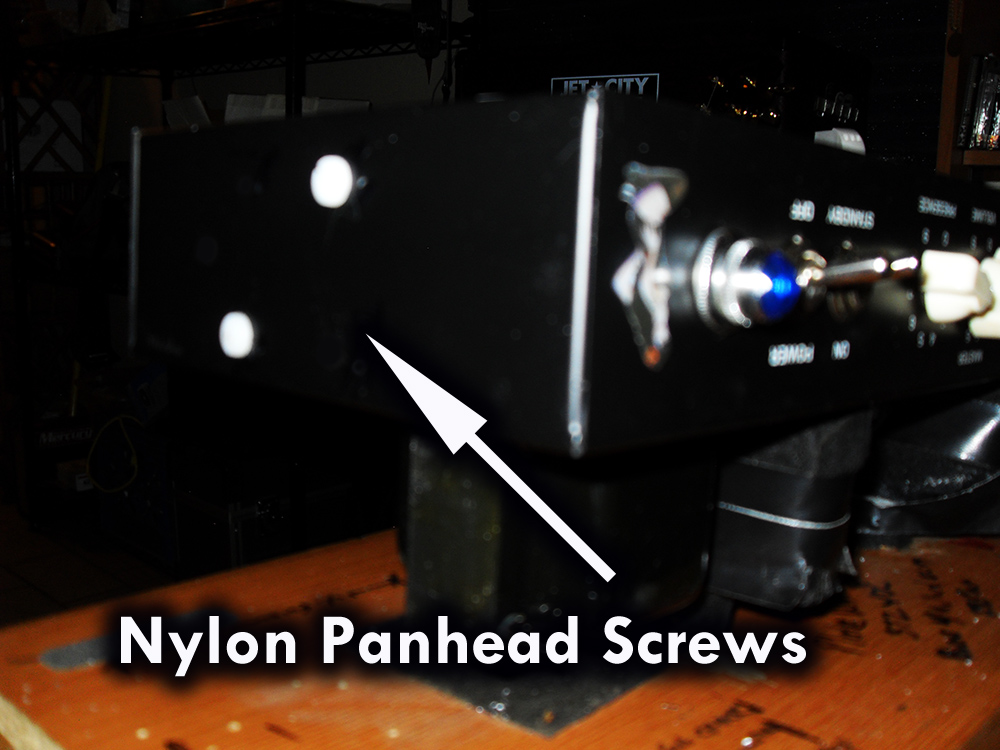 sticking out of it, stripped the tips and connected my volt meter via aligator clips to the wires , plugged it in to the jack and adjusted the trimmer to 12v. Afterwards I used the same plug and soldered the leads for the LEDs to it. Then I just mounted the LEDs in the top of the head and hot glued the wires around the inside to where the input jack is and once the chassis is back in and secured I plug the LEDs into the jack. Now when I need to remove the chassis for biasing or whatever i can unplug the LEDs and pull it out. THAT’S why used a panel mount jack. It’s a super clean installation and it works great.
Here’s what the MOJO TONE site says about it.
This low voltage power supply (comes assembled) makes it possible to run any 4.5v-13.5v circuit inside your tube amp powered from your 6.3v heater line. This unusual circuit does something previously not possible with standard circuits, it retains the heater center tap as the ground point for the DC output – meaning your switching circuits or low voltage effects can still be grounded to the chassis.
So there you have it. Tidy little installation that takes not much time at all and performs as advertised. Sweet!
Link: mojotoneLVS1
NOTE: Sorry about the fuzzy images. My digital camera is going south on me so as soon as I get a replacement I’ll replace these with some sharp, clear images.

Blue LEDs installed


 Soldano SLO Mini 30 Watt Killer AmpIn All Posts, Amps, ReviewsI have never gotten excited about ANY solid state amp. […]
 Leslie West Mountain of Tone PickupIn All Posts, Guitars, ReviewsWhen it comes to electric guitars, it’s common […]
 the BEST Guitar Tuners EverIn All Posts, DIY Mods, Repairs, ReviewsOver the past 20 yrs. it’s safe to say […]
 Dean Leslie West Signature ModelIn All Posts, Featured, Guitars, News, ReviewsLeslie West gained fame the world over during his […]
 Tributes to Leslie WestIn All Posts, Featured, NewsI’ve been playing guitar since […]