
Easy Loose Vacuum Tube Repair
Quick fix for a sloppy vacuum tube socket
Vacuum tube sockets are generally pretty sturdy, unless you change tubes frequently. And let’s face it: when the quest for tone bug has it’s teeth in you, the odds are you are going to try different tubes and/or tube combinations. Nothing wrong with that as it’s a time honored tradition among guitarists. What it leads to, unfortunately, is the occasional loose tube. This can be frustrating when they break contact intermittently. Each pin on the tube slides into its own little hole in the socket and inside that little hole is a split metal contact that grips the pin by tension from that contact.
Over time, even if you don’t change tubes alot, those contacts get spread apart to the point they no longer grip the pin and that’s where the trouble starts. But I have a super simple method for restoring that gripping action with a quickness. 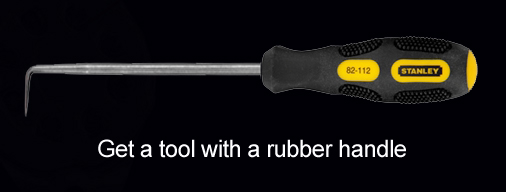
All you need is a tool like in this picture. This paticular tool came in a set that has a straight tip, a hooked tip, a 45 degree tip, and the one I use for this repair, a 90 degree tip. You can actually make one but it’s going to need a handle for gripping and twisting as you will see.
(WARNING: (you’ve no doubt heard this before but for both our sakes here it comes again) tube amps contain lethal voltages that can kill you. And I mean tag-on-the-toe dead! Always drain the capacitors of these voltages before venturing in, and keep one hand behind your back while working in there. If you are uncomfortable working around these hazards, don’t. If you just plain have no idea what you are doing, you need to learn first. There’s a ton of info on this subject all over the net.
This is for a head. If you have a combo you will need to transpose for that type amp.
The process is simple and there are two methods.
Method #1 (for amps that have bleeder resistors to drain the capacitors):
Turn off the amp and unplug the power a few hours berfore attempting this repair.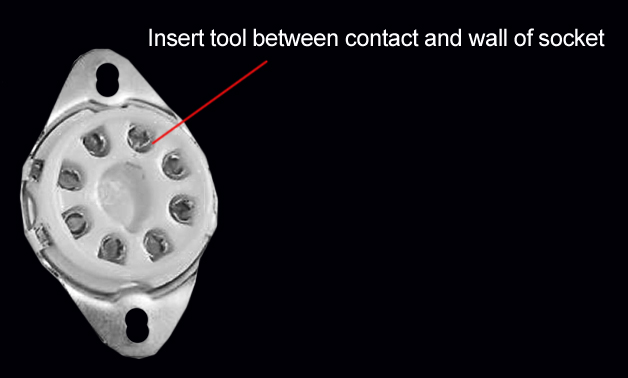
1. Remiove the front baffle form your amp
2. Remove the tube(s) that is loose
3. Starting with Pin #1, insert the tool into the pin hole to the outside of the metal contact
4. Gently twist the tool towards the center of the pin hole.
5. Now insert the tool on the other side of the same contact and twist towards the center again.
6. Repeat for each pin hole then go on and do the rest.
7. Repeat the process for any other sockets that were sloppy.
You don’t have to Jethro the thing, be gentle cause those contacts bend super easy and overdoing it could deform them or even break them and you don’t want to have to replace the whole freakin’ socket.
Method #2 (amps without bleeder resistors)
1. Pull the chasis and drain the caps (see warning above)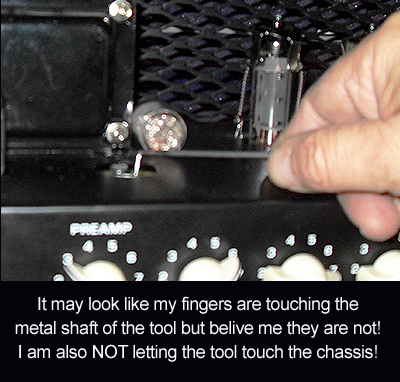
2. Perform steps 2 thru 7 of Method#1.
That’s it except you should get some electronics parts cleaner and clean the pins on the tubes while your in there. They get oxidized so it helps a lot with contact.
Replace your tubes and button up the amp, fire it up and rock out!
Russ
Dean Soltero, Dean Leslie West Signature Models (4 of them) Hamer Studio, Gibson Les Paul, Epiphone Les Paul (Korean), Ovation Celebrity, Gibson Hummingbird, Blackstar HT-1R, Jet City JCA20H, Laney Cub 12R, Orange OR-15 and a lot of dirt pedals, some store bought some homegrown.


 Soldano SLO Mini 30 Watt Killer AmpIn All Posts, Amps, ReviewsI have never gotten excited about ANY solid state amp. […]
 Leslie West Mountain of Tone PickupIn All Posts, Guitars, ReviewsWhen it comes to electric guitars, it’s common […]
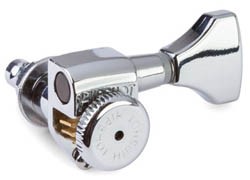 the BEST Guitar Tuners EverIn All Posts, DIY Mods, Repairs, ReviewsOver the past 20 yrs. it’s safe to say […]
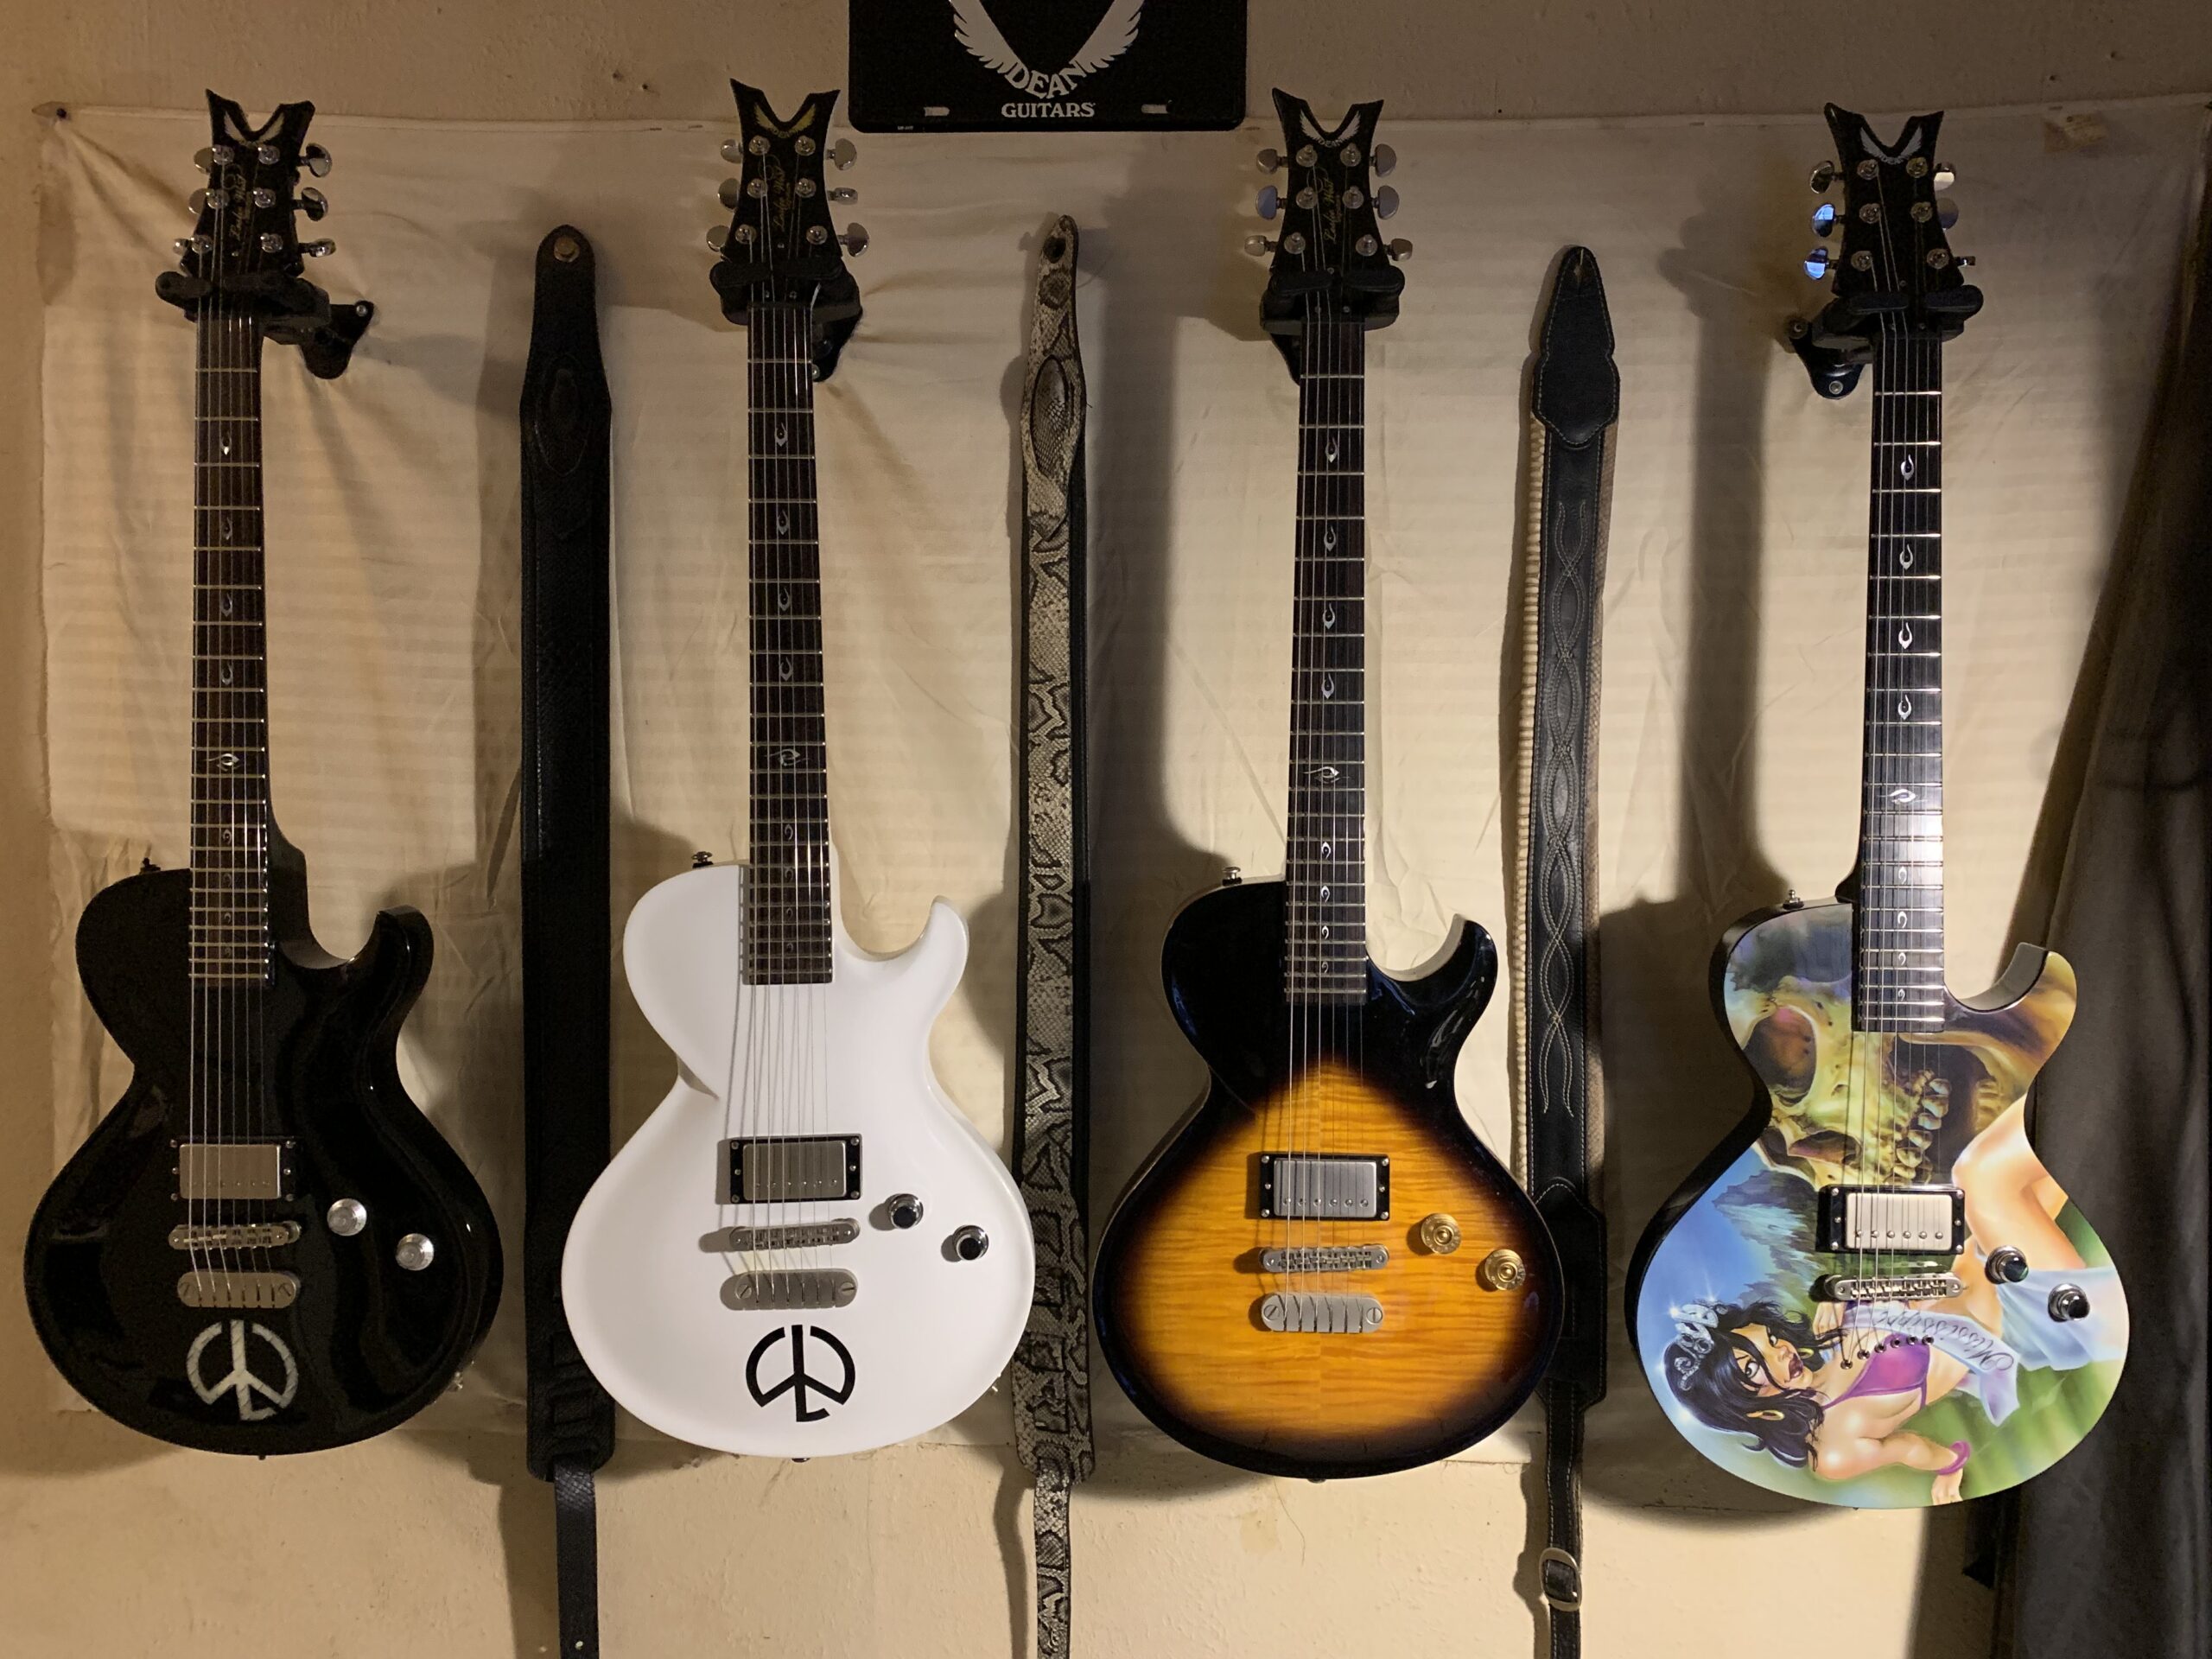 Dean Leslie West Signature ModelIn All Posts, Featured, Guitars, News, ReviewsLeslie West gained fame the world over during his […]
 Tributes to Leslie WestIn All Posts, Featured, NewsI’ve been playing guitar since […]