
Bias Adjust Non-Locking Pot Made Secure

I used orange so it would show up better in the pics. They’re available in black
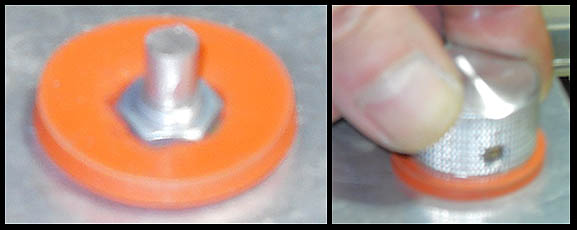
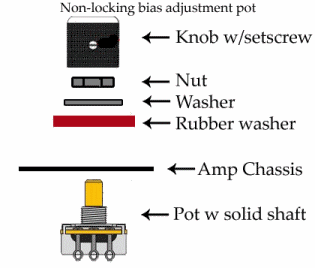
If you ever thought about installing an external bias adjustment pot but wanted to use a regular pot instead of a locking style I have the solution. This will let you use a standard linear taper pot that is secure and won’t move on incidental contact. In fact it takes a bit of force to move the bias adjust knob at all if you execute it right. Of course an external bias adjust will require either a bias right type of gizmo to connect your DMM or you will have to install external bias test points (which I won’t go into here). Once you have a test point you need to get the size of the trim pot being used for the bias adjustment and get a linear taper pot the same size. Mine was a 50K. A pot with a solid shaft works best. Next you need a knob that uses a set screw (the type you find on a stomp box is the perfect size). To make it more secure file a flat spot on the shaft for the set screw to lock onto. And finally the secret ingredient: a rubber washer that’s 1.125″ (1-1/8″) in diameter with a 0.1875″ (3/16″) hole in the center and is 0.125″ (1/8″) thick. A slightly larger center hole is ok because we’re going to enlarge it a little bit anyway. Once you determine the location of your adjuster drill the hole for the pot. On the rubber washer 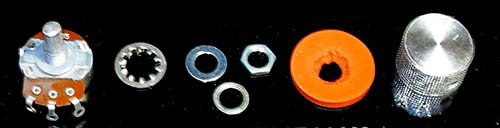 chamfer the hole in the center so the metal washer and the nut will set down into it and pinch part of it to the chassis. Then place the knob on the shaft and hold pressure down on it as you tighten the set screw. You want the knob to be pressed into the rubber. This creates a friction point and it will hold that knob in place. Incidental contact won’t move it, it takes a bit of force to make it move. Mines been this way for several months now and it works great. If I ever come up on a 50K locking pot I may switch it out. Maybe, depends on how much the locking pot costs. My way cost about 7 bucks if you had to go buy the washer, pot, and knob. But I’ll bet, like me, you’ve got some if not all of these parts already. If you know another method to accomplish this share it in the comments below.
Russ
Dean Soltero, Dean Leslie West Signature Models (4 of them) Hamer Studio, Gibson Les Paul, Epiphone Les Paul (Korean), Ovation Celebrity, Gibson Hummingbird, Blackstar HT-1R, Jet City JCA20H, Laney Cub 12R, Orange OR-15 and a lot of dirt pedals, some store bought some homegrown.


 Soldano SLO Mini 30 Watt Killer AmpIn All Posts, Amps, ReviewsI have never gotten excited about ANY solid state amp. […]
 Leslie West Mountain of Tone PickupIn All Posts, Guitars, ReviewsWhen it comes to electric guitars, it’s common […]
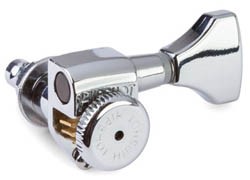 the BEST Guitar Tuners EverIn All Posts, DIY Mods, Repairs, ReviewsOver the past 20 yrs. it’s safe to say […]
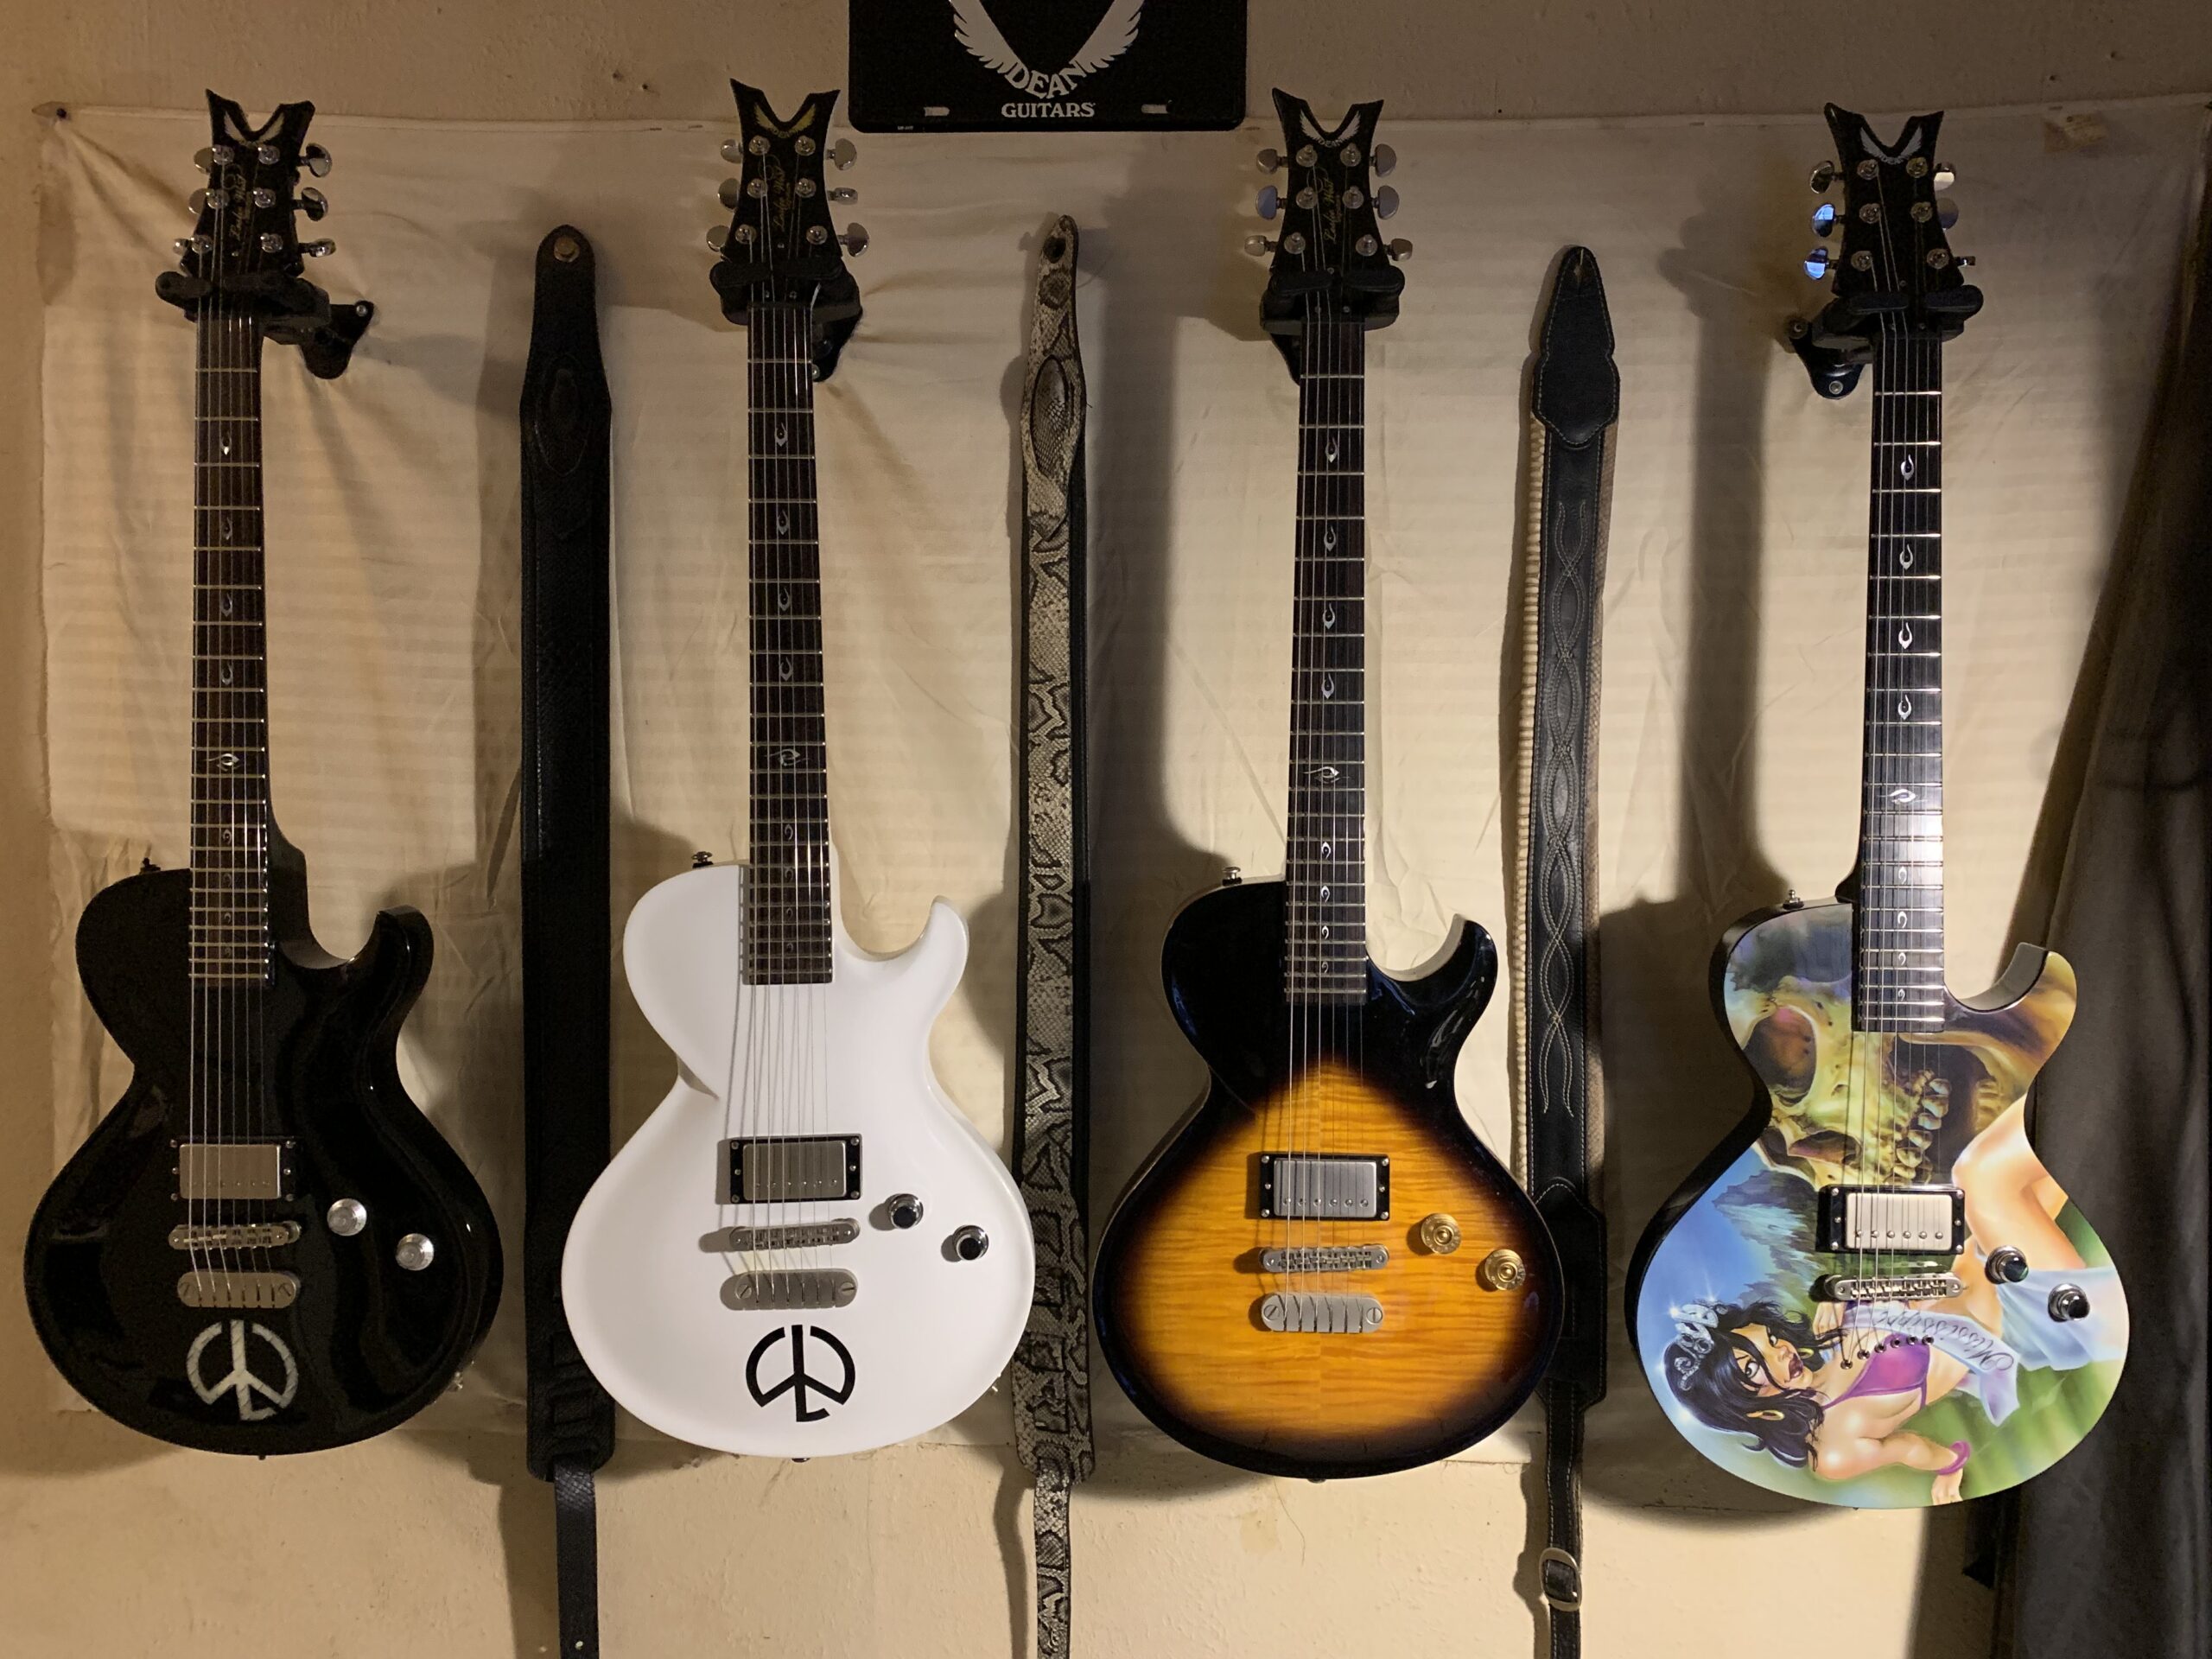 Dean Leslie West Signature ModelIn All Posts, Featured, Guitars, News, ReviewsLeslie West gained fame the world over during his […]
 Tributes to Leslie WestIn All Posts, Featured, NewsI’ve been playing guitar since […]